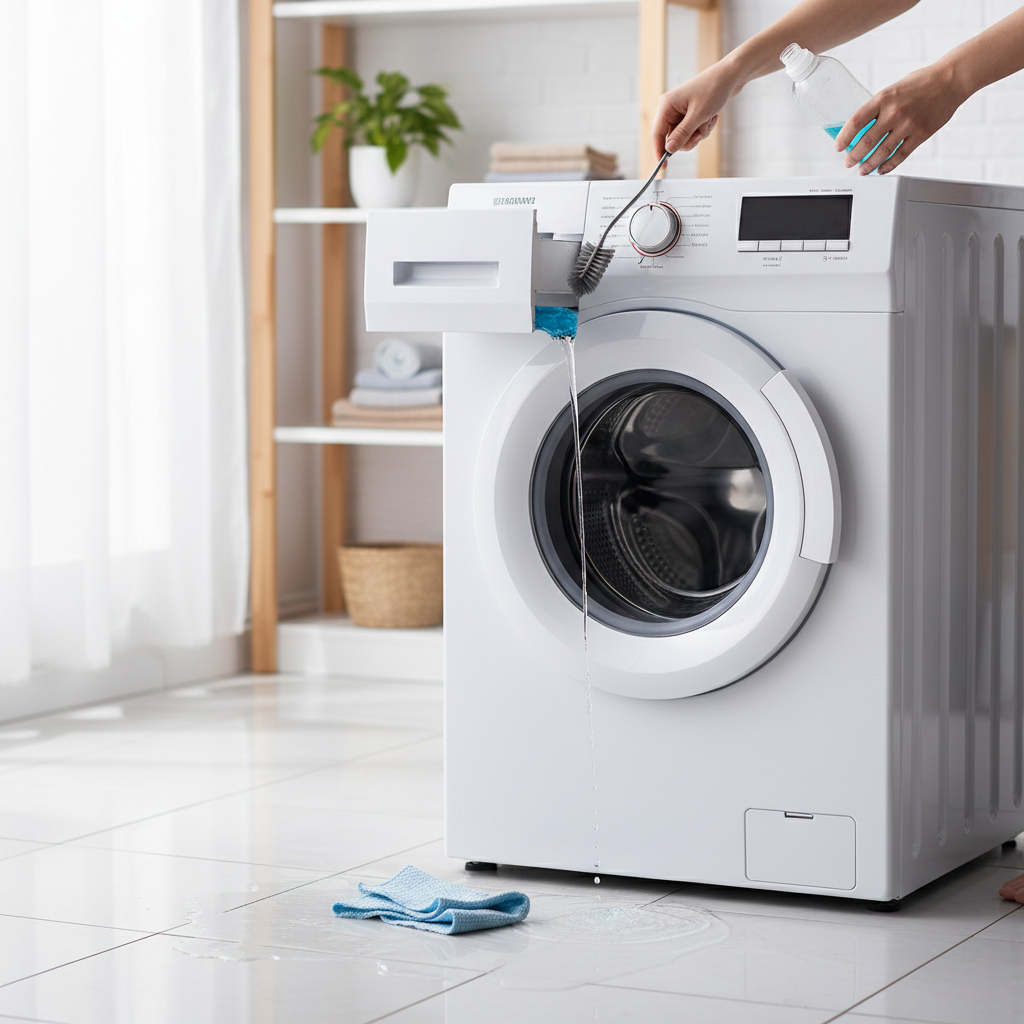
Encountering an error code on your LG washing machine can be a moment of frustration, interrupting your laundry routine and sparking immediate concern. However, these seemingly cryptic alphanumeric messages are actually your washer’s way of communicating, pinpointing specific issues to help you diagnose and often resolve problems yourself. With a little understanding and some basic troubleshooting steps, you can save time and money by tackling many common LG washer errors right from home. This comprehensive guide will empower you to decipher those codes and confidently execute DIY fixes, ensuring your laundry day remains smooth and efficient.
The Advantages and Disadvantages of DIY Washer Repair
Before diving into specific error codes, it’s wise to consider the benefits and challenges of attempting a do-it-yourself repair on your LG washing machine. Empowering yourself with troubleshooting knowledge can be incredibly rewarding, but it also comes with certain responsibilities.
Advantages:
- Cost Savings: One of the most significant benefits of DIY repair is the potential to save a substantial amount of money. Professional service calls and parts can be expensive, whereas a simple fix might only require a few minutes of your time and no new components.
- Immediate Solutions: When your washer breaks down, waiting for a technician can mean days of piled-up laundry. A DIY approach allows you to address the problem immediately, potentially getting your appliance back up and running within hours.
- Enhanced Understanding: Troubleshooting your washer familiarizes you with its mechanics and operation. This deeper understanding can help you prevent future issues and even extend the lifespan of your appliance.
- Sense of Accomplishment: Successfully fixing an appliance yourself provides a great sense of achievement and self-reliance, proving that you don’t always need professional help for common household issues.
|
Our Picks for the Best Front load washing machine in 2026
As an Amazon Associate I earn from qualifying purchases.
|
||
| Num | Product | Action |
|---|---|---|
| 1 | GE 5.0 cu.ft. Smart Front Load Washer in White with Steam, UltraFresh Vent System, and Microban Technology |

|
| 2 | GE PROFILE 28 Inch Smart Front Load Washer with 4.8 cu. ft. Capacity in White GFW550SSNWW |
|
| 3 | Kenmore 4.5 cu. ft. Front Load Washer with Stain Removing Steam Treatment - Reduce Laundry Time with Accela Wash - LED - ENERGY STAR Certified - Metallic Silver |
|
| 4 | Kenmore 4.5 cu. ft. Top Load Washer with Triple Action Impeller for Tough Dirt & Stains - Reduce Laundry Time with Accela Wash & Express Wash - LED - White |
|
| 5 | West Bend Washer Compact Front Load Washing Machine with 15 Wash Cycles, LED Display, See-Through Door, Stackable and Space-Saving Design, for Apartments, RVs, and Small Spaces, 2.2 Cu.Ft., White |
|
| 6 | BLACK+DECKER 4.5 Cu. Ft. Front Load Washer, Full Size Washing Machine with 12 Cycles, ENERGY STAR certified Washer Machine, Hot & Cold Inlet Hoses, LED Display, 120V, BFLW45M, White |
|
| 7 | GE GFW655SPVDS 5.0 cu.ft. Smart Front Load Washer with Steam, UltraFresh Vent System, Black |
|
| 8 | LG WM3400CW 4.5 cu ft Front-Load Washer – High-Efficiency, LoDecibel™ Quiet Operation, 6Motion™ Technology, White |
|
| 9 | Samsung 4.5 cu. ft. High Efficiency Front Load Washer with Vibration Reduction Technology+, White, WF45T6000AW/A5 |
|
| 10 | Maytag 4.5 cu ft. Front Load Washer with 12-hour Fresh Spin Option |
|
Disadvantages:
- Risk of Further Damage: Without proper knowledge or caution, attempting a repair could inadvertently cause more significant damage to your washing machine, leading to more costly repairs or even necessitating a replacement.
- Safety Hazards: Washing machines involve electricity and water, posing potential safety risks if not handled correctly. Improper DIY repairs can lead to electric shock, water leaks, or other dangerous situations.
- Voiding Warranty: Some manufacturers’ warranties can be voided if unauthorized repairs are performed. Always check your warranty terms before attempting any internal repairs that might go beyond simple troubleshooting.
- Specialized Tools and Expertise: For complex issues, specialized tools or a deeper understanding of appliance electronics and mechanics might be required, which most homeowners do not possess.
- Time Consumption: While some fixes are quick, others can be time-consuming, requiring research, part identification, and multiple attempts, which might outweigh the benefits for some individuals.
A Guide to Safe and Effective DIY Washer Repair
Before you grab your toolbox and begin troubleshooting, it’s crucial to follow a systematic approach to ensure safety and increase your chances of a successful repair. These preliminary steps will prepare you for tackling LG washer error codes effectively.
Identify the Error Code:
The first and most critical step is to accurately identify the error code displayed on your LG washer’s control panel. Take a photo or write it down. This code is the key to understanding the underlying problem. Different models may use slightly different codes, so knowing the exact one is paramount.
Consult Your Owner’s Manual:
Your LG washing machine’s owner’s manual is an invaluable resource. It typically contains a dedicated section listing common error codes specific to your model, along with recommended troubleshooting steps. Always refer to this document first, as it provides manufacturer-approved solutions.
Prioritize Safety:
Whenever you’re working with an appliance, safety must be your top priority.
- Unplug the Machine: Always disconnect your washing machine from the power outlet before performing any inspection or repair that involves reaching inside the unit or accessing components.
- Turn Off Water Supply: If you suspect a water-related issue (like an IE or OE error), turn off the hot and cold water supply valves connected to the washer.
- Wear Protective Gear: Consider wearing gloves, especially if you’ll be dealing with dirty components or sharp edges.
Gather Necessary Tools:
While many DIY fixes require only basic tools, having a few essentials on hand can make the process smoother. These might include:
- Screwdrivers (Phillips and flathead)
- Pliers
- A flashlight
- Towels (for spills)
- A bucket (for draining water)
Assess Your Skill Level:
Be honest about your comfort and capability. Simple fixes like clearing a clogged filter or checking a hose are generally manageable for most homeowners. However, if the issue involves complex electrical components, motor replacement, or requires dismantling significant parts of the machine, it might be best to call a qualified technician to avoid potential damage or injury.
Common LG Washer Error Codes and DIY Fixes
LG washing machines are equipped with a smart self-diagnosis system designed to alert you to issues with specific error codes. Understanding these common codes and their corresponding DIY fixes can help you get your washer back in working order swiftly.
dE, dE1, dE2 (Door Error)
These codes indicate an issue with the washer door not closing or locking properly.
- Causes: The door may not be fully closed, clothes might be caught in the door seal, the door latch mechanism could be faulty, or debris might be obstructing the latch.
- DIY Fix:
- Check Door Closure: Ensure the washer door is firmly pushed shut until you hear a distinct click.
- Inspect for Obstructions: Open the door and check the rubber gasket and the door latch area for any clothes, lint, or foreign objects that might be preventing a secure seal. Wipe the gasket clean.
- Clean the Latch: Clean the door latch and the corresponding strike plate on the washer frame to remove any debris.
- Reset Washer: Unplug the washer for 5 minutes, then plug it back in and try to start a cycle. If the problem persists after these steps, the door lock assembly might need replacement, which often requires a technician.
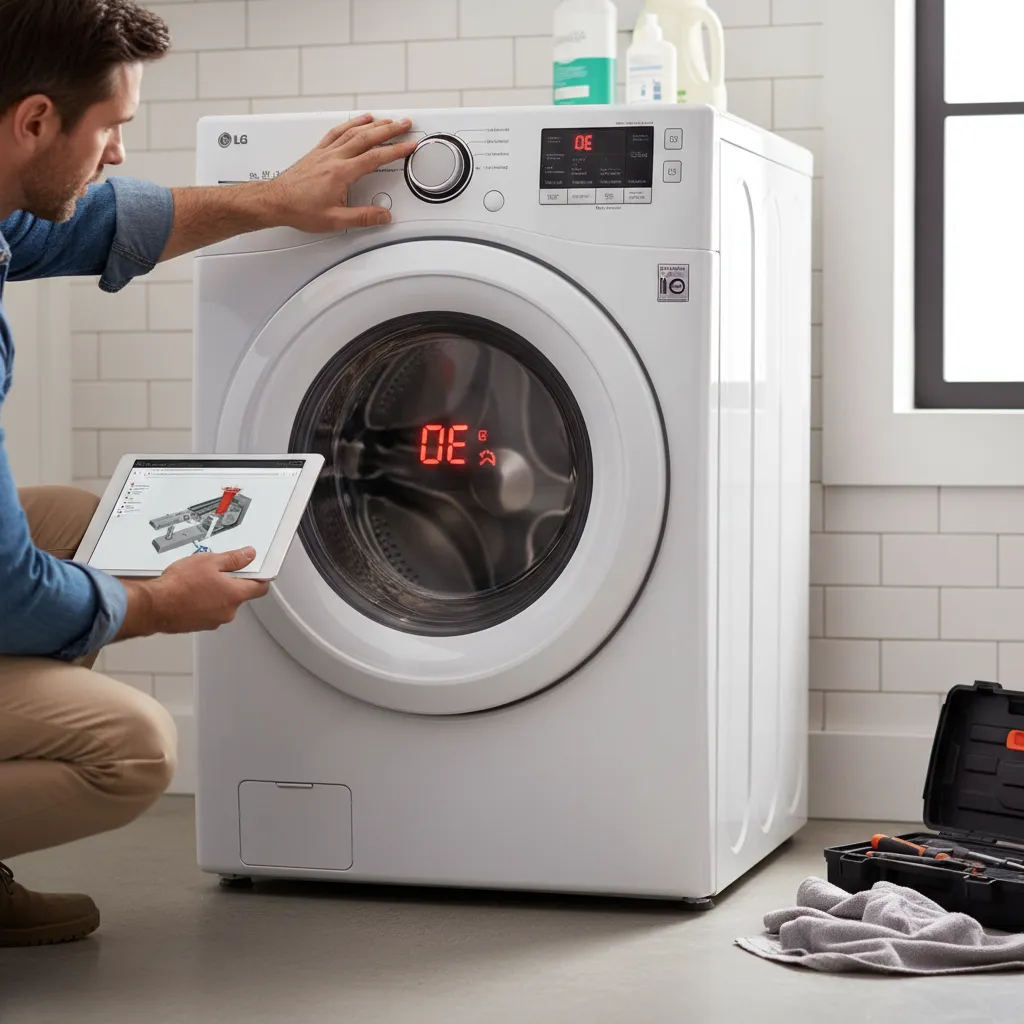
OE (Drain Error)
The OE error code signals that the washing machine is having trouble draining water properly.
- Causes: A clogged drain pump filter, a kinked or blocked drain hose, or a malfunctioning drain pump.
- DIY Fix:
- Check Drain Hose: Inspect the drain hose located at the back of the washer. Ensure it is not kinked, bent, or obstructed. Straighten any kinks.
- Clean Drain Pump Filter: Most LG washers have a drain pump filter located behind a small access panel at the bottom front of the machine.
- Place towels and a shallow pan beneath the panel to catch any residual water.
- Open the panel, locate the small drain hose (if present), and drain any remaining water.
- Unscrew and remove the large filter cap.
- Carefully remove any lint, debris, coins, or foreign objects from the filter and its housing.
- Clean the filter under running water.
- Reinsert the filter and close the access panel securely.
- Reset Washer: After cleaning, plug in the washer and try a rinse and spin cycle to test the drainage.
IE (Water Inlet Error)
An IE code indicates a problem with the water supply to the washing machine.
- Causes: Water supply faucets are turned off or not fully open, kinked inlet hoses, clogged water inlet filters, low household water pressure, or frozen inlet hoses in cold weather.
- DIY Fix:
- Check Water Taps: Ensure both the hot and cold water supply faucets connected to the washer are fully open.
- Inspect Inlet Hoses: Check the inlet hoses at the back of the washer for any kinks, twists, or blockages. Straighten them out.
- Clean Inlet Filters: Turn off the water supply and disconnect the inlet hoses from the back of the washer. Inside the washer’s water inlet ports, you’ll find small mesh filters. Use pliers to carefully pull them out and clean them under running water to remove any sediment or debris. Reinsert and reattach hoses.
- Verify Water Pressure: If water pressure in your home is generally low, this could be the cause. Avoid running the washer during peak water usage times.
- Thaw Hoses (if applicable): In very cold weather, water in the hoses can freeze. Disconnect and thaw them with warm water if necessary.
UE or Ub (Unbalanced Load Error)
These codes signify that the washer’s load is unbalanced, preventing it from spinning effectively.
- Causes: Too few items in the drum, mixing very heavy items with very light ones, or laundry getting tangled and shifted to one side during the wash.
- DIY Fix:
- Redistribute Laundry: Open the washer door and manually redistribute the laundry evenly around the drum. Untangle any bunched-up items.
- Adjust Load Size: If the load is too small (e.g., only one heavy item), add a few more items of similar weight to help balance it. Conversely, if the machine is severely overloaded, remove some items.
- Avoid Single Large Items: Washing very large, absorbent items like blankets or bath mats individually can often lead to unbalance. Try washing them with other similar-sized items, or run a less aggressive spin cycle.
LE (Motor Locked Error)
The LE code suggests that the washer’s motor is locked, often due to an overload or an obstruction.
- Causes: The machine is overloaded with too much laundry, or a foreign object (for LE1 specifically) is stuck in the tub.
- DIY Fix:
- Reduce Load Size: If the machine feels heavy, remove some items to reduce the load.
- Reset Washer: Unplug the unit for at least 5 minutes to reset the motor’s control board. Plug it back in and try to restart the cycle.
- Check for Foreign Objects (LE1): If the code is LE1, inspect the tub for any foreign objects like coins, buttons, or hairpins that might be jamming the drum. Use pliers or tweezers if needed to remove them.
FE (Overflow Error)
An FE error indicates that the washing machine has detected an overflow of water.
- Causes: A malfunctioning water inlet valve that is continuously allowing water to flow in, or a faulty water level sensor misreading the water level.
- DIY Fix:
- Turn Off Water Supply: Immediately turn off the hot and cold water supply valves to the washer.
- Unplug Machine: Disconnect the power.
- Inspect Inlet Valve: While a DIY replacement of the inlet valve is possible for experienced individuals, it’s often best to consult a technician if you suspect this is the cause, as it involves electrical and water connections.
- Reset: After ensuring the water supply is off, plug the machine back in. If the error persists, professional help is likely needed to inspect the water inlet valve or pressure sensor.
PE (Pressure Sensor Error)
This code points to a problem with the washer’s pressure sensor assembly, which is responsible for detecting water levels.
- Causes: A malfunctioning pressure sensor, a clogged pressure sensor hose, or issues with the wiring.
- DIY Fix:
- Inspect Pressure Sensor Hose: The pressure sensor hose connects the drum to the pressure sensor. Locate it (often near the bottom of the drum) and check for kinks, blockages, or disconnections. Clear any obstructions.
- Reset Washer: Unplug the machine for 5 minutes, then plug it back in. If the error persists, the pressure sensor assembly itself might need replacement, which is typically a job for a professional.
PF (Power Failure)
The PF error is usually straightforward, indicating a power fluctuation or outage.
- Causes: A temporary power outage, a tripped circuit breaker, or a loose power cord.
- DIY Fix:
- Check Power Supply: Ensure the washer’s power cord is securely plugged into the outlet.
- Reset Circuit Breaker: Check your home’s electrical panel for any tripped circuit breakers and reset them if necessary.
- Wait it Out: If there was a brief power outage, the error should clear once stable power returns. If it doesn’t, unplug the washer for 5 minutes, then plug it back in to perform a hard reset.
tE (Temperature Sensor Error)
This error relates to the water temperature sensor (thermistor) inside your washer.
- Causes: A faulty thermistor, issues with the heating element, or wiring problems.
- DIY Fix:
- Hard Reset: Unplug the washer for 5 minutes to attempt a system reset.
- Professional Assistance: The tE error often indicates an internal component failure that is best diagnosed and repaired by a qualified technician, as it involves electrical testing and component replacement.
Sud (Oversudsing Error)
The Sud code appears when the washer detects an excessive amount of suds.
- Causes: Using too much detergent, using non-HE (High Efficiency) detergent in an HE machine, or using the wrong type of detergent.
- DIY Fix:
- Run Rinse Cycle: Allow the machine to complete its cycle, then run an extra rinse and spin cycle without adding more detergent.
- Adjust Detergent Usage: Ensure you are using the correct amount of HE detergent specifically designed for high-efficiency washers. Always measure accurately and follow detergent manufacturer recommendations.
- Avoid Non-HE Detergent: Never use conventional detergent in an HE washing machine, as it produces too many suds.
CL (Child Lock)
The CL message isn’t an error code but an indicator that the child lock feature is activated.
- Causes: The child lock function has been enabled, preventing any changes to the wash cycle or settings.
- DIY Fix:
- Deactivate Child Lock: To unlock, typically press and hold the “Child Lock” button or a combination of two buttons (often indicated by an icon next to them) for 3-5 seconds. Refer to your owner’s manual for the exact button combination for your specific model.
tCL (Tub Clean Reminder)
Like CL, tCL is not an error but a maintenance reminder.
- Causes: The washer’s internal programming is reminding you to run a Tub Clean cycle to maintain hygiene and performance.
- DIY Fix:
- Run Tub Clean Cycle: Select the “Tub Clean” cycle on your washer’s control panel and run it according to the instructions in your manual. This helps prevent mold, mildew, and odors.
General Troubleshooting Tips and When to Call a Technician
Even with an understanding of error codes, some general troubleshooting techniques and preventive maintenance can make a big difference. Knowing when to call in the experts is also crucial for safety and effective repair.
How to Reset Your LG Washing Machine
A simple reset can often clear temporary glitches and clear error codes that aren’t related to a serious mechanical failure.
- Turn Off and Unplug: Turn off the power to the washer and unplug it from the wall outlet.
- Wait: Allow the machine to remain unplugged for at least five minutes. This gives the control board sufficient time to discharge and reset.
- Plug Back In: Plug the washer back into the outlet and restart your desired wash cycle.
Preventive Maintenance to Avoid Errors
Regular maintenance can significantly reduce the likelihood of encountering error codes.
- Clean the Drain Pump Filter: Make it a habit to clean the drain pump filter every few months to prevent clogs.
- Clean Inlet Filters: Periodically check and clean the water inlet filters to ensure proper water flow.
- Use HE Detergent Correctly: Always use high-efficiency (HE) detergent and measure it precisely to prevent oversudsing and residue buildup.
- Wipe Down Door Gasket: After each wash, wipe down the rubber door gasket to remove moisture, lint, and debris, which helps prevent mold and door seal issues.
- Balance Loads: Distribute laundry evenly in the drum and avoid overloading or underloading to prevent unbalanced load errors and strain on the motor.
- Run Tub Clean Cycle: Regularly run the Tub Clean cycle to keep the drum free from detergent residue, mildew, and odors.
- Check Hoses: Periodically inspect water inlet and drain hoses for kinks, leaks, or wear and tear.
When to Call a Technician
While DIY troubleshooting is empowering, there are situations where professional assistance is the safest and most effective option:
- Persistent Errors: If an error code repeatedly appears despite your troubleshooting efforts.
- Complex Issues: When the problem involves internal electrical components (like the main control board, motor, or heating element) that require specialized tools or diagnostic equipment.
- Safety Concerns: If you observe smoke, burning smells, excessive vibrations, or water leaks that you cannot immediately resolve.
- Warranty Concerns: For machines still under warranty, consult LG customer support before attempting any repairs that might void your coverage.
- Lack of Confidence: If you feel uncomfortable or unsure about any repair step, it’s always best to err on the side of caution and call a qualified appliance technician.
Conclusion
Understanding LG washer error codes is the first step towards transforming frustration into effective troubleshooting. By familiarizing yourself with these common indicators and their straightforward DIY fixes, you can often restore your washing machine’s functionality without the need for a costly service call. Remember to prioritize safety by always unplugging your appliance and turning off water supplies before any inspection. While many minor issues can be resolved with a keen eye and a few basic tools, recognizing when a professional technician is required is equally important. With the right knowledge, you’re now better equipped to keep your LG washing machine running smoothly, ensuring laundry day remains a chore, not a crisis.
What has been your most challenging LG washer error to fix, and how did you resolve it?
Câu Hỏi Thường Gặp
How do I perform a hard reset on my LG washing machine?
To perform a hard reset, unplug your LG washing machine from the power outlet and leave it disconnected for at least five minutes. This allows the control board to fully discharge and reset. After five minutes, plug the machine back in, and it should clear most temporary error codes or system glitches.
What should I do if my LG washer shows a dE error but the door seems closed?
If your LG washer displays a dE (door error) even when the door appears closed, first, firmly push the door to ensure it latches properly. Then, inspect the door seal and latch area for any trapped clothing, lint, or debris that might prevent a complete seal. Cleaning this area and then resetting the washer by unplugging it can often resolve the issue.
Can I use regular detergent in an LG HE washing machine?
No, it is strongly recommended to only use high-efficiency (HE) detergent in an LG HE washing machine. Regular detergents produce excessive suds that can trigger the “Sud” error code, reduce washing performance, and potentially damage your appliance’s components over time due to residue buildup. Always look for the “HE” symbol on your detergent.
How often should I clean the drain pump filter on my LG washer?
For optimal performance and to prevent “OE” (drain error) codes, it’s advisable to clean your LG washer’s drain pump filter every 1-3 months, depending on your usage and the type of laundry you wash (e.g., pet hair can necessitate more frequent cleaning). Regular cleaning helps remove lint, debris, and foreign objects that can obstruct drainage.
What does the tCL message mean on my LG washer?
The tCL message is not an error code but a reminder to run the “Tub Clean” cycle. This maintenance cycle is designed to clean the washer’s tub and remove detergent residue, mold, and odors that can build up over time. Running this cycle regularly helps maintain hygiene and the efficiency of your washing machine.